1、Note that the red dot on the cable corresponds to the red dot on the interface.
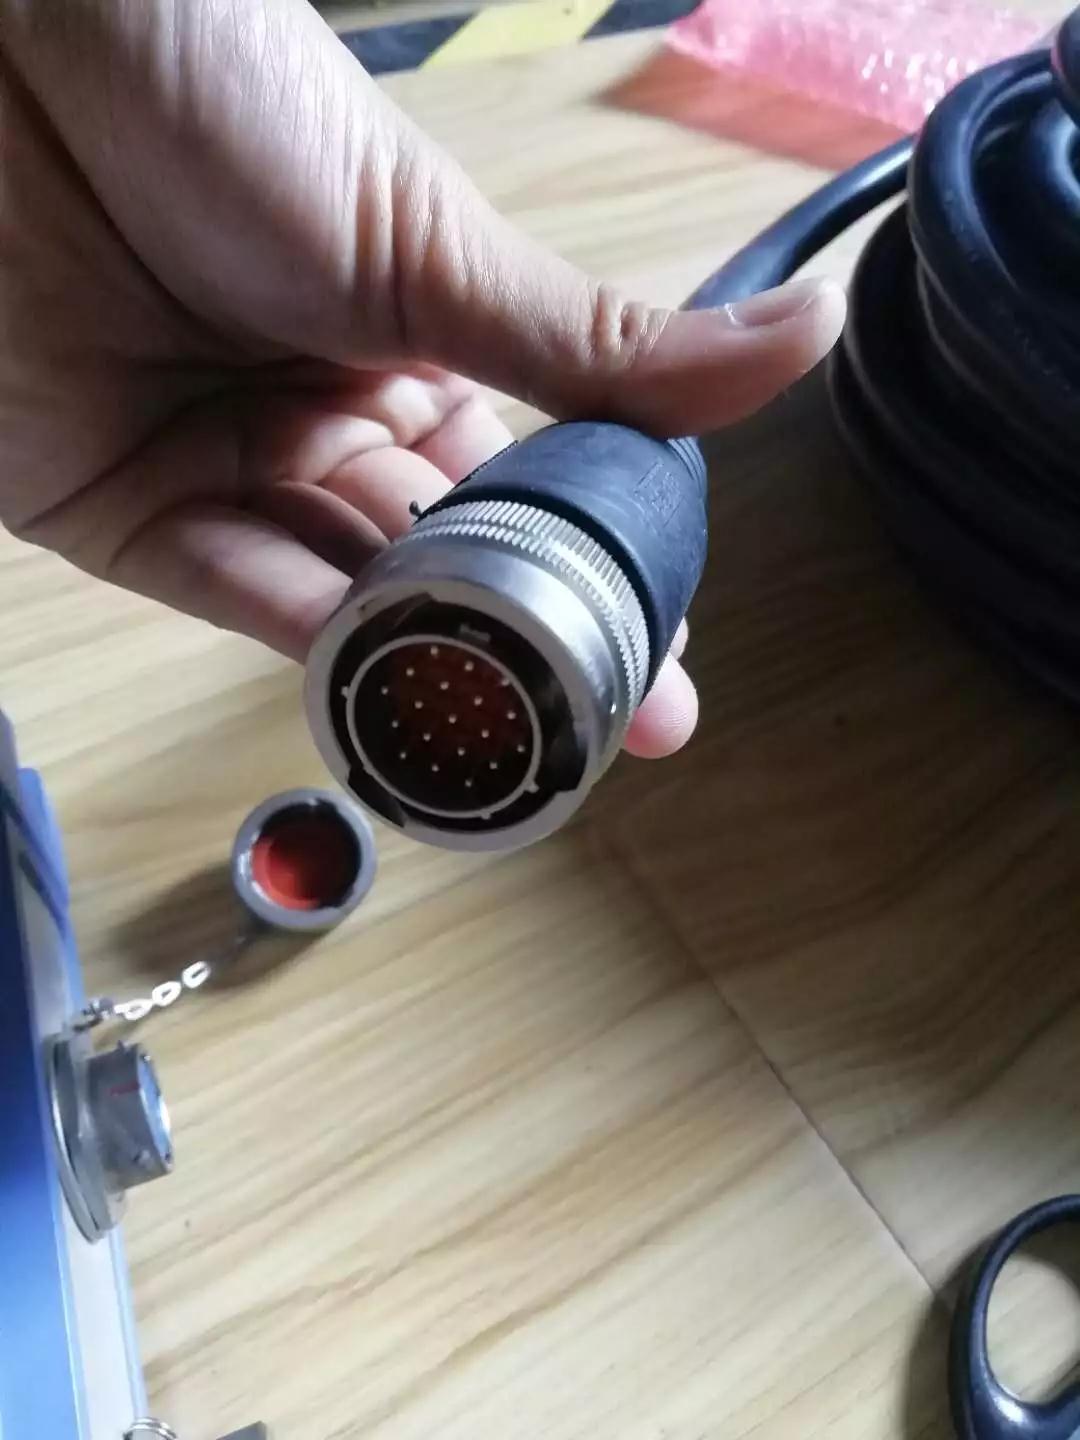
connect cable with the host
disconnect cable with the host
2. Accelerometer connects number 1, 2 cable,High strain ring connects number 3 and 4 cables.
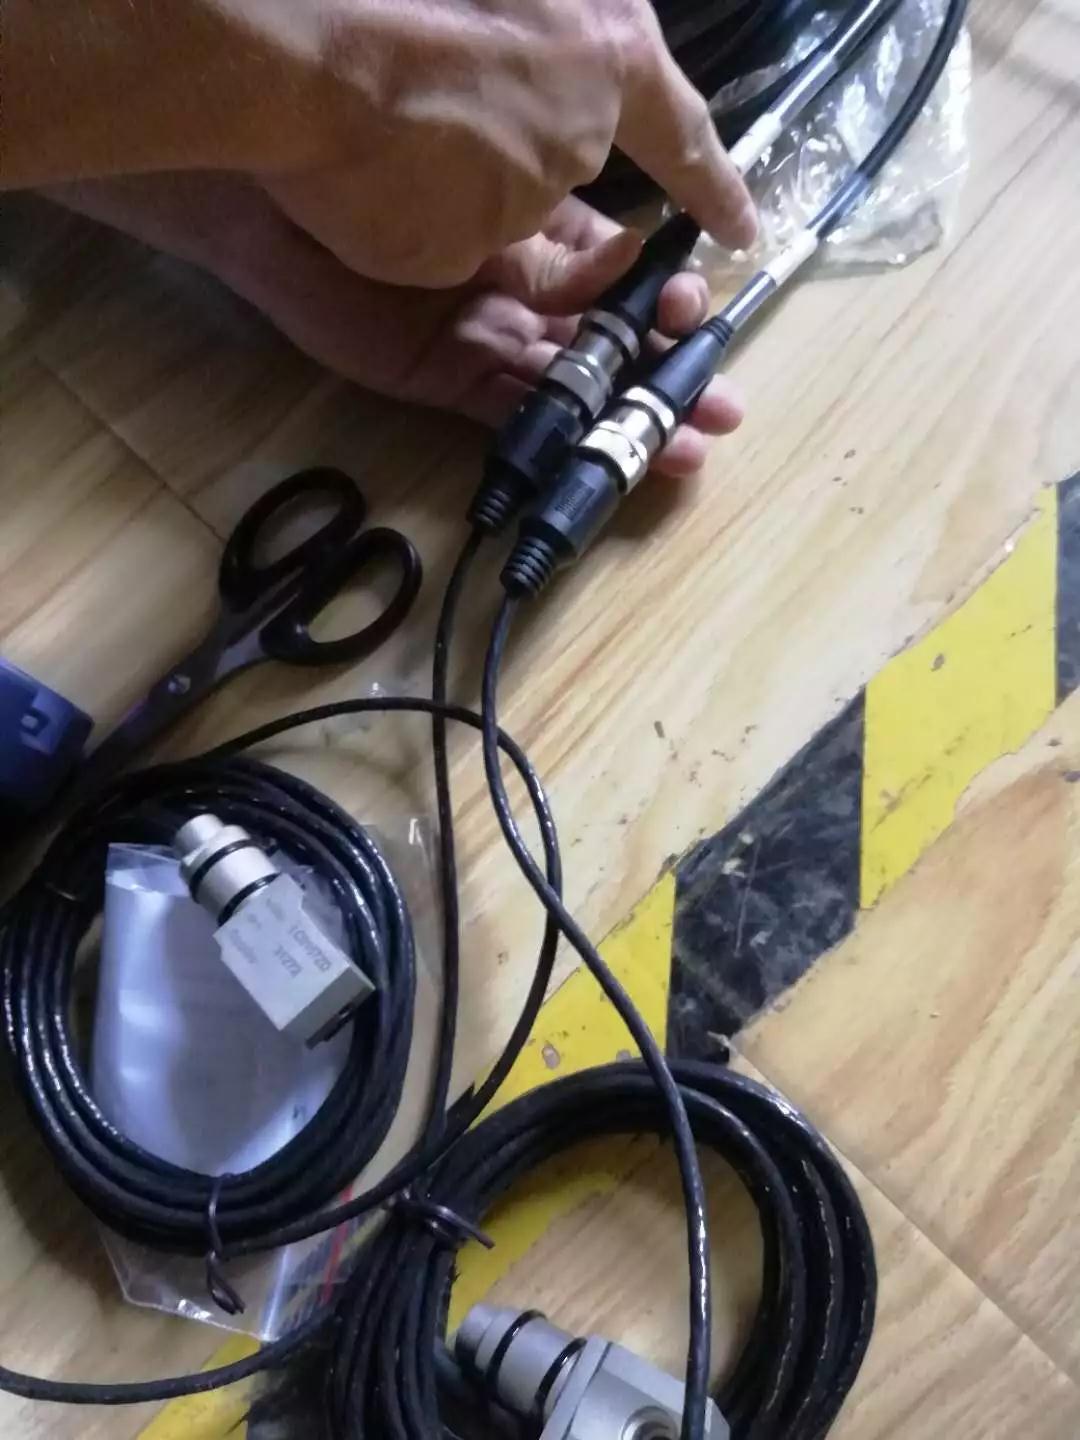
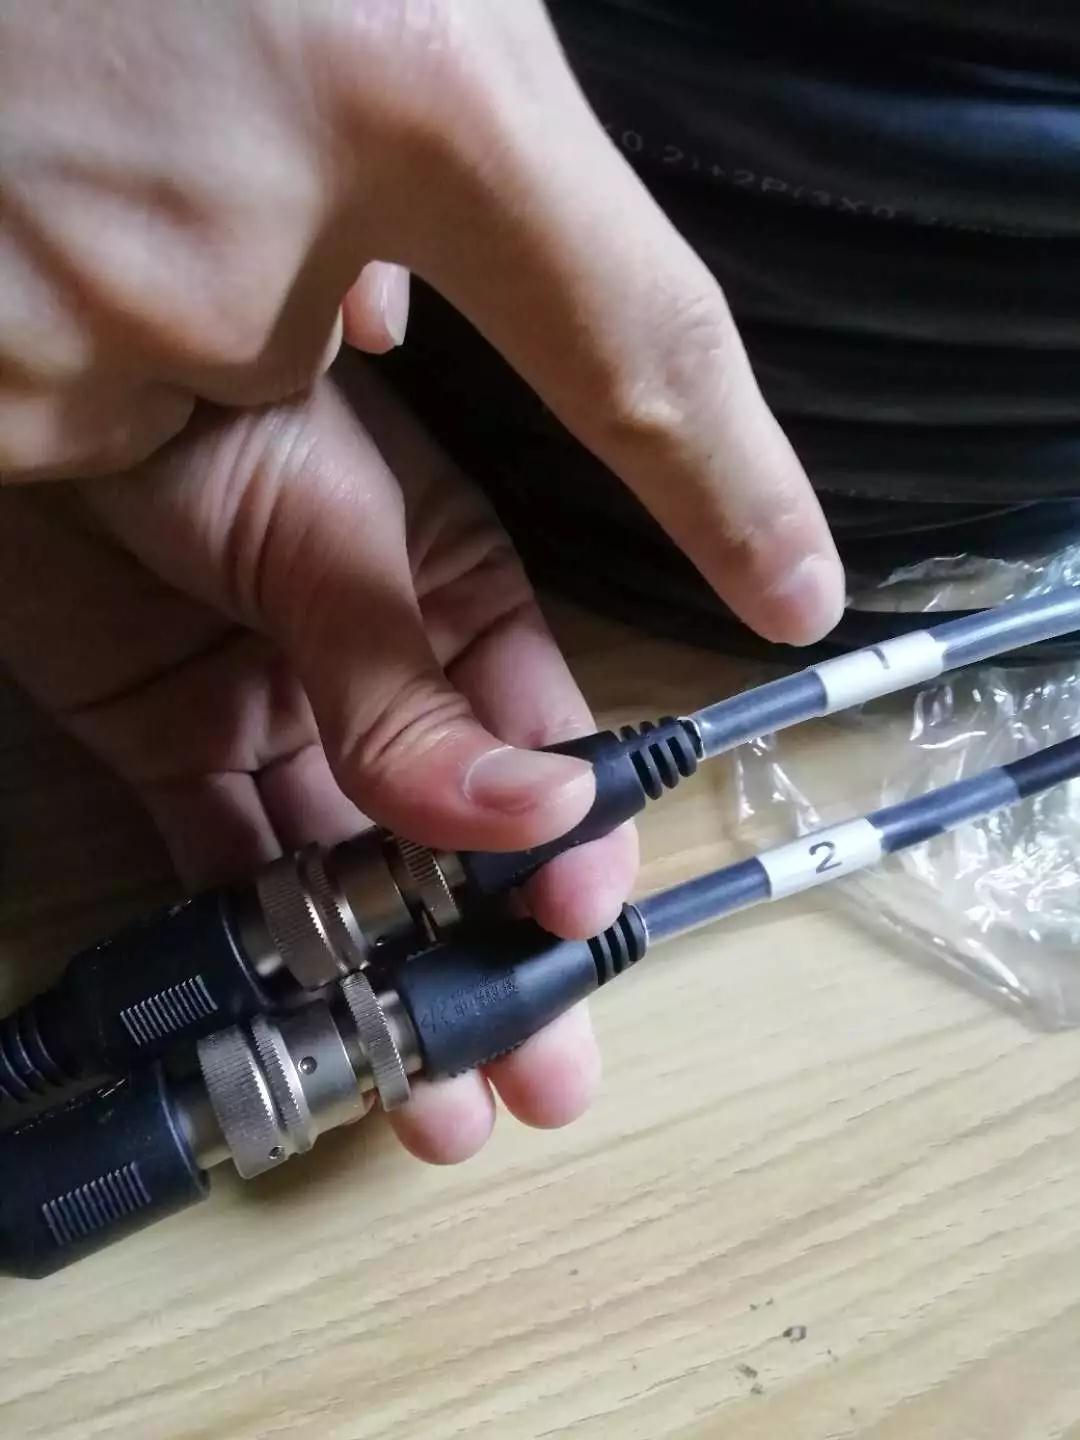
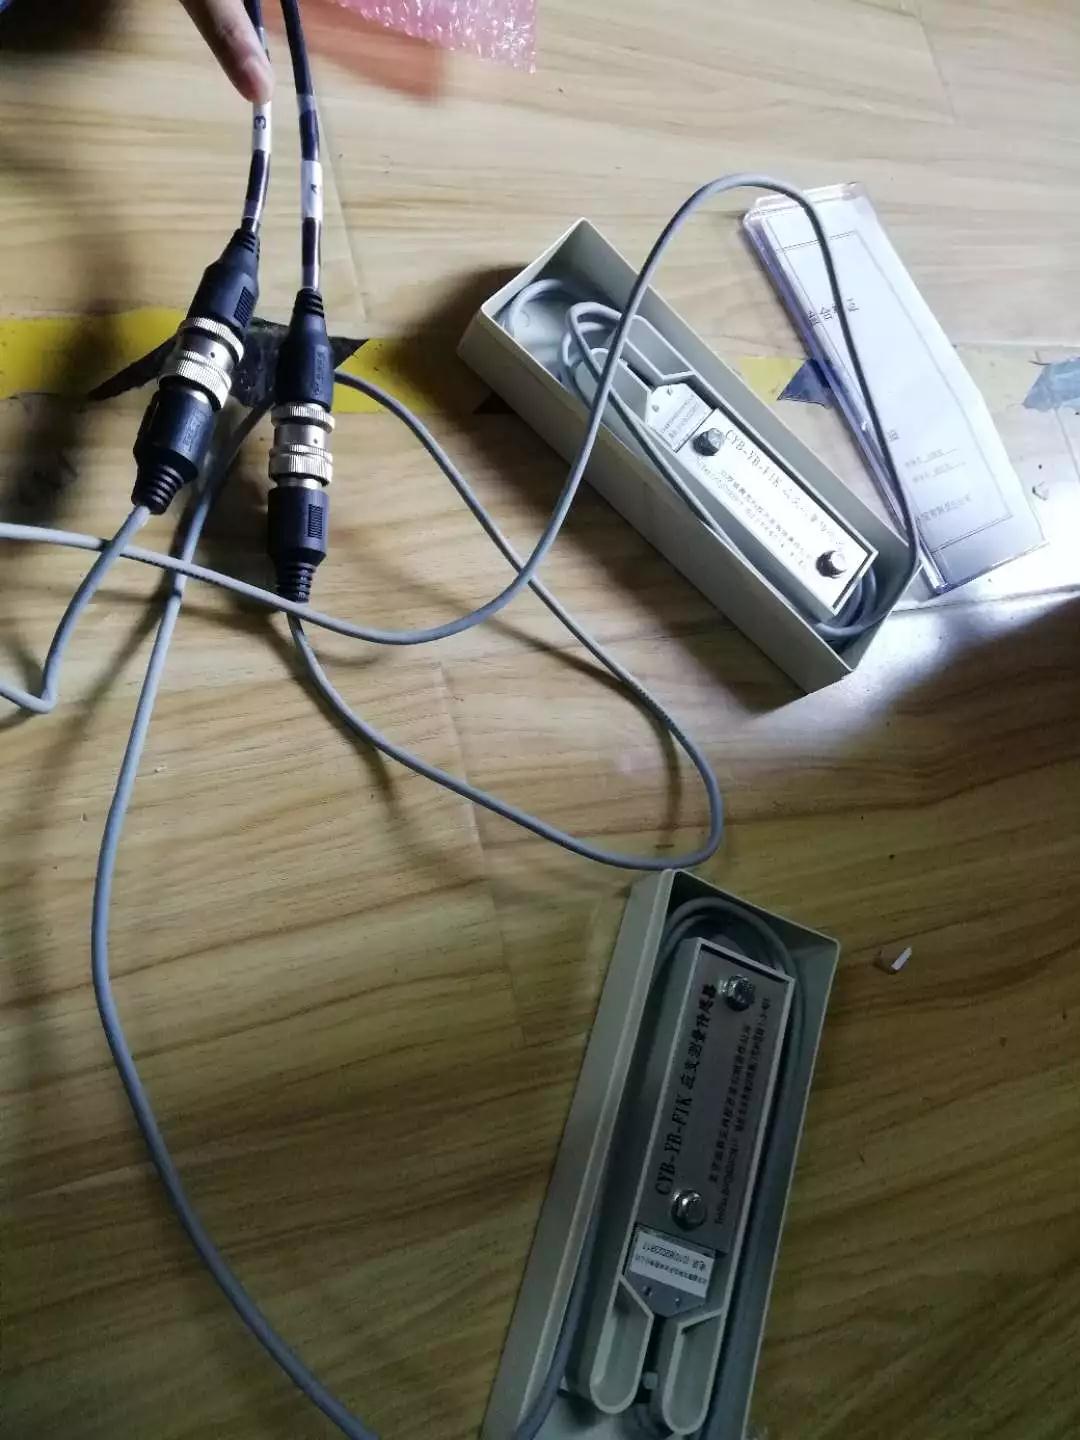
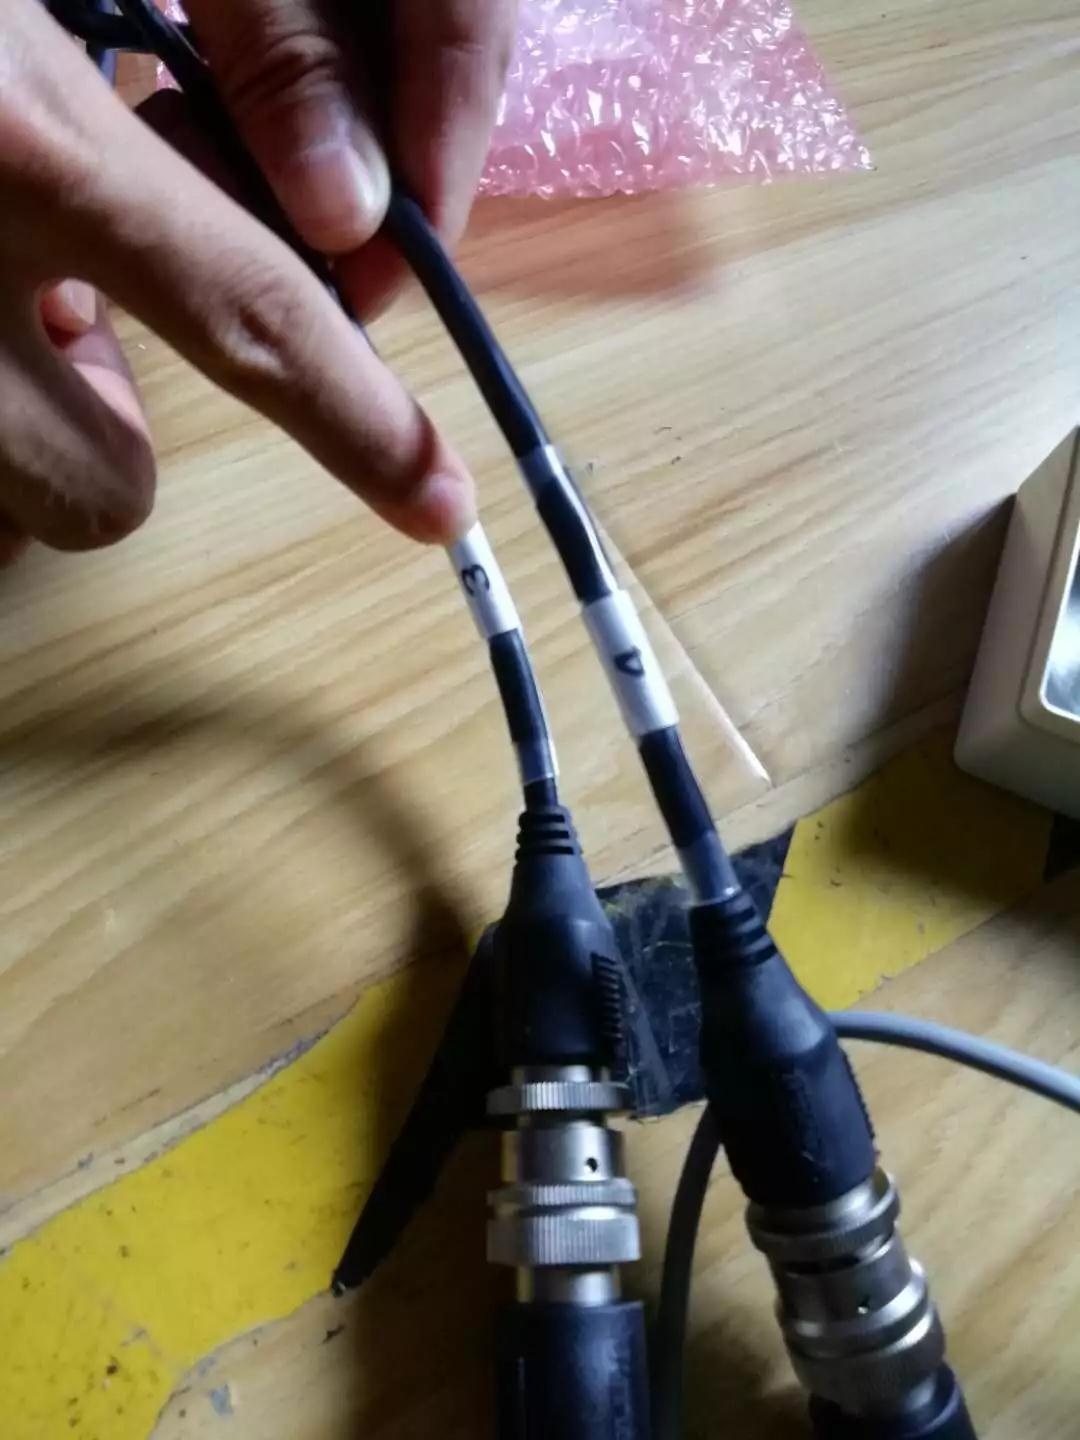
connect the sensor with the cable
3. Hand tighten on the thread
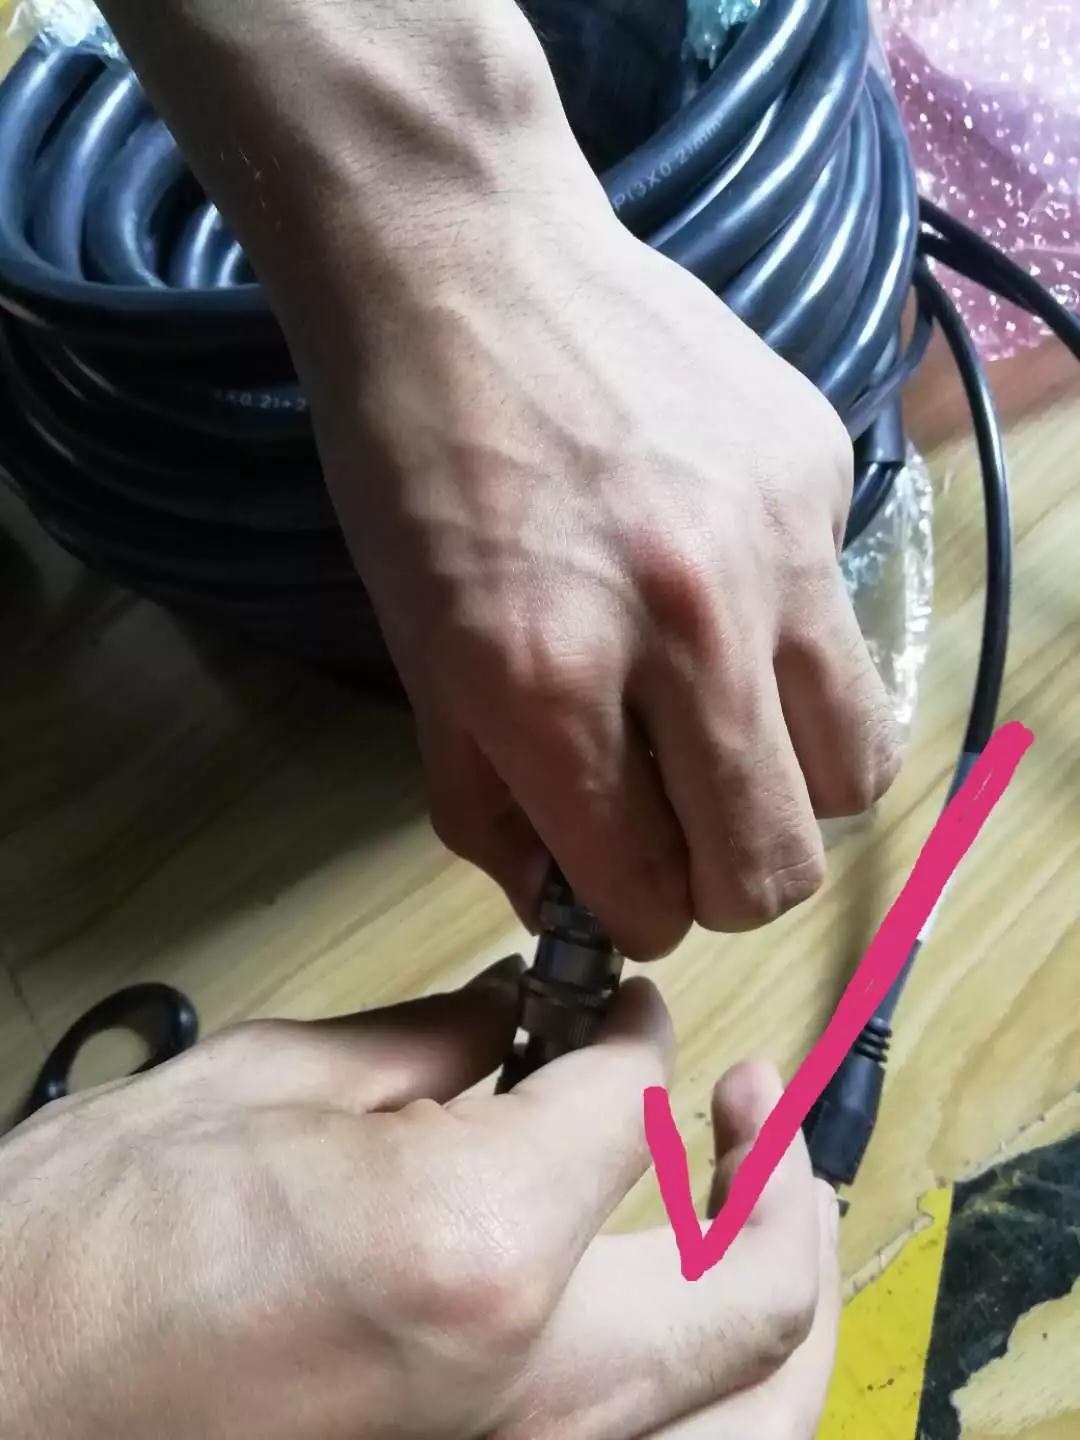
4. Do not put your hand on other parts to screw the interface
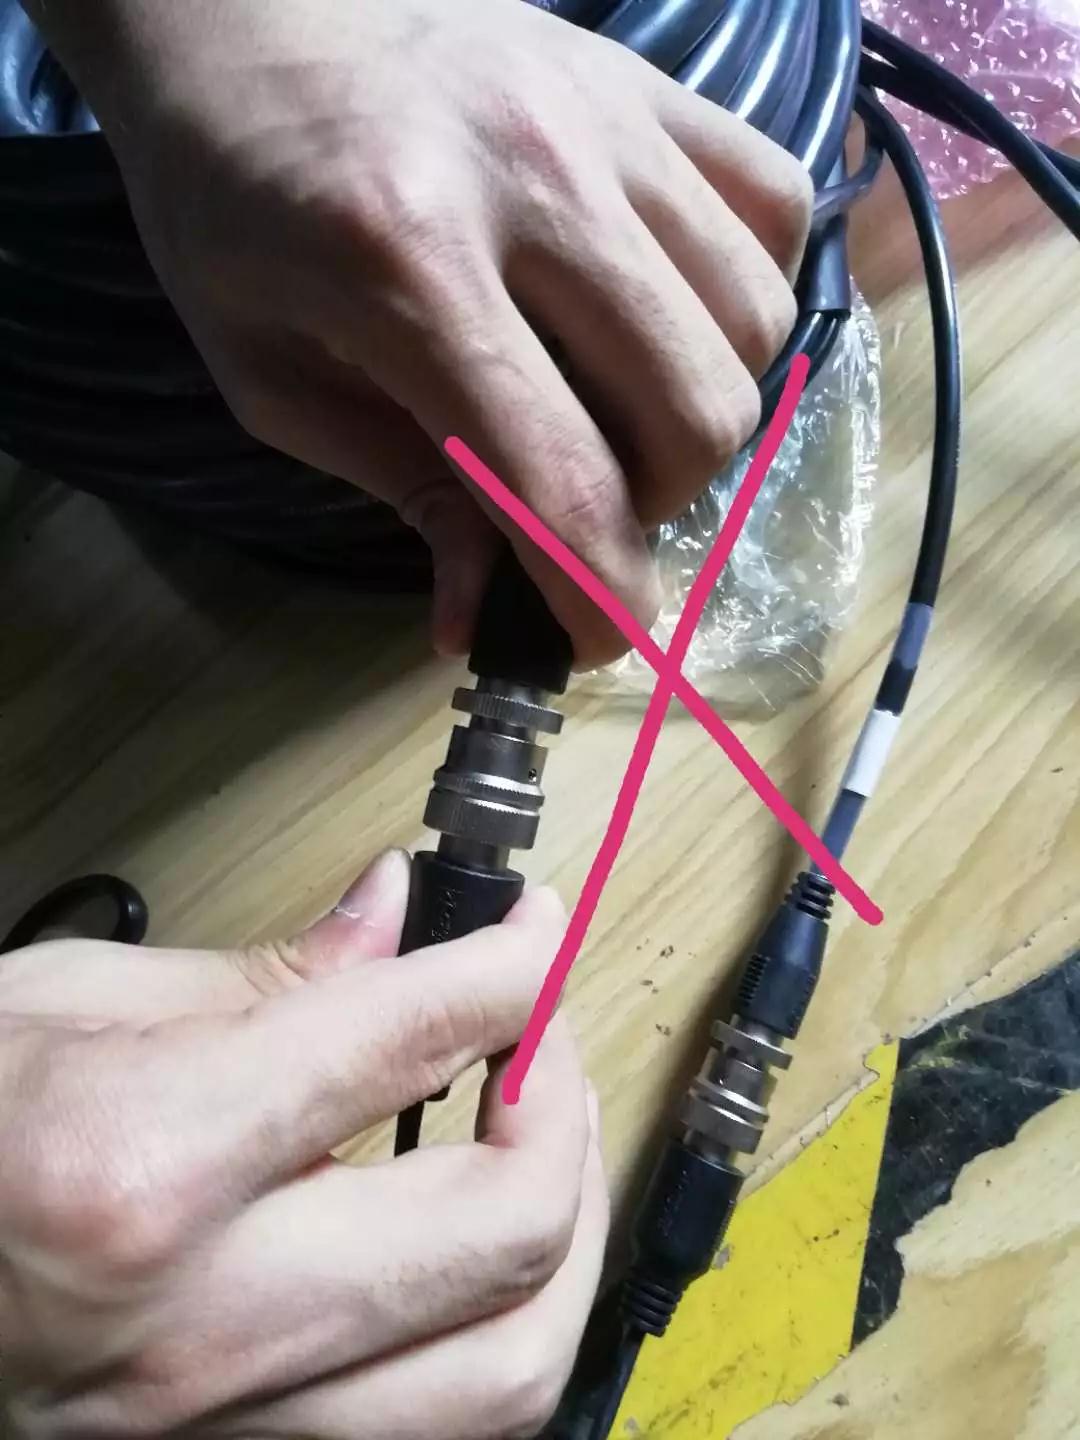
5. Tightening direction and twisting direction are opposite
6. After all the cables are connected, click the high strain monitoring button and you will see the green dot below the interface.
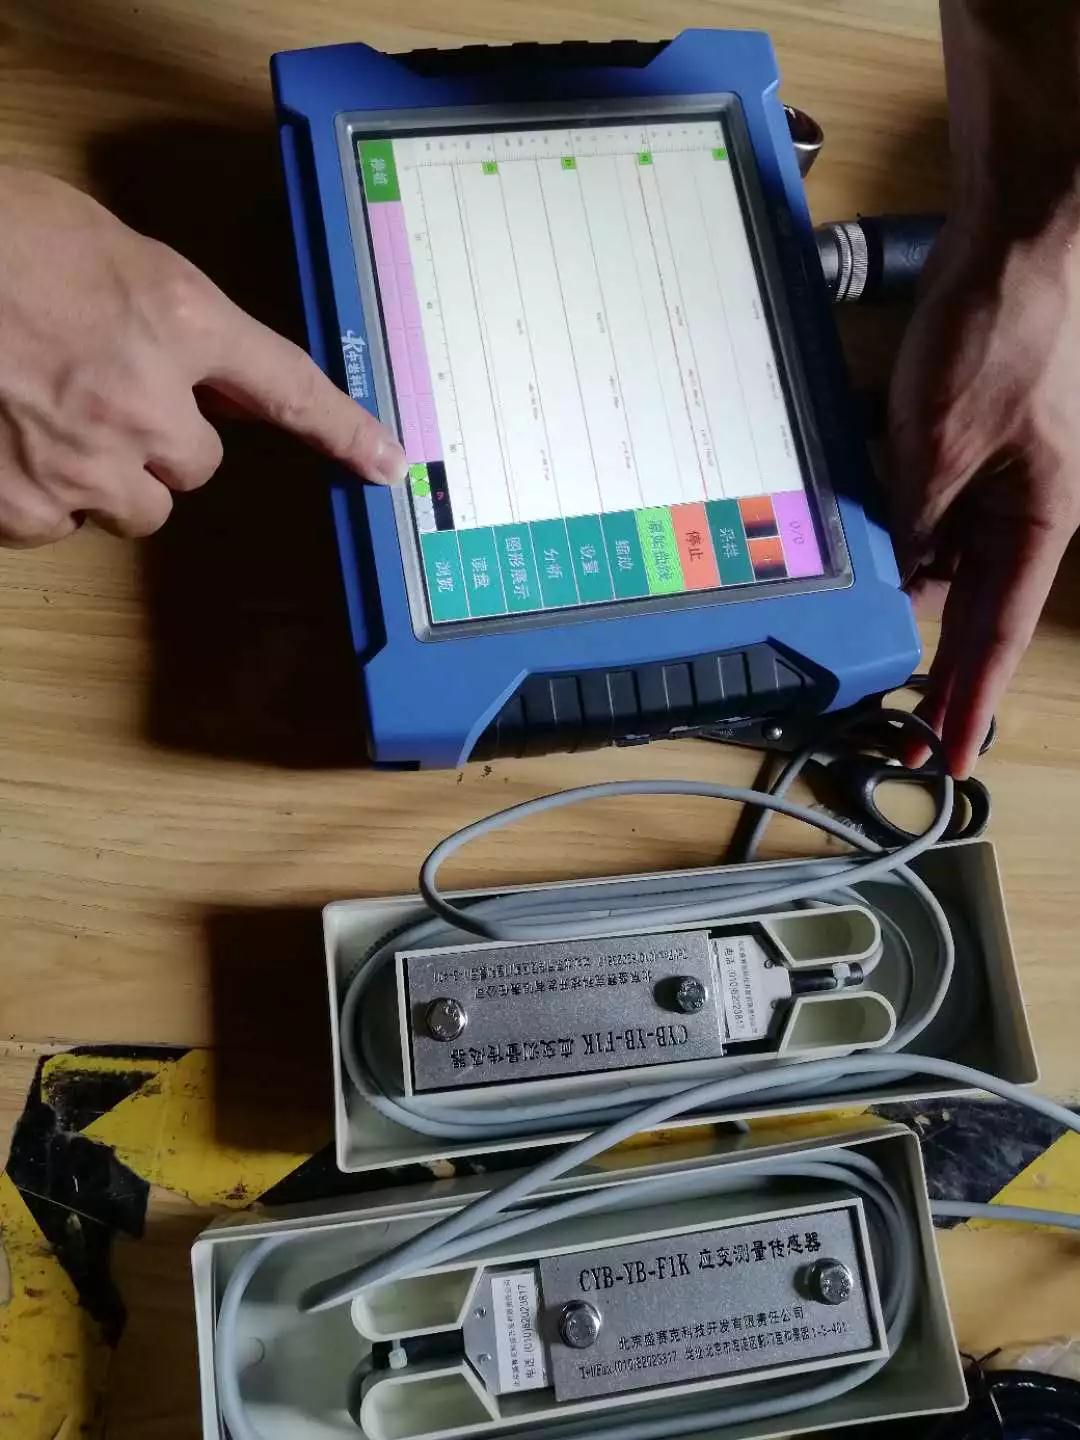
7. If the cable is not connected or sensor installation has problem, a red dot will appear below the interface.
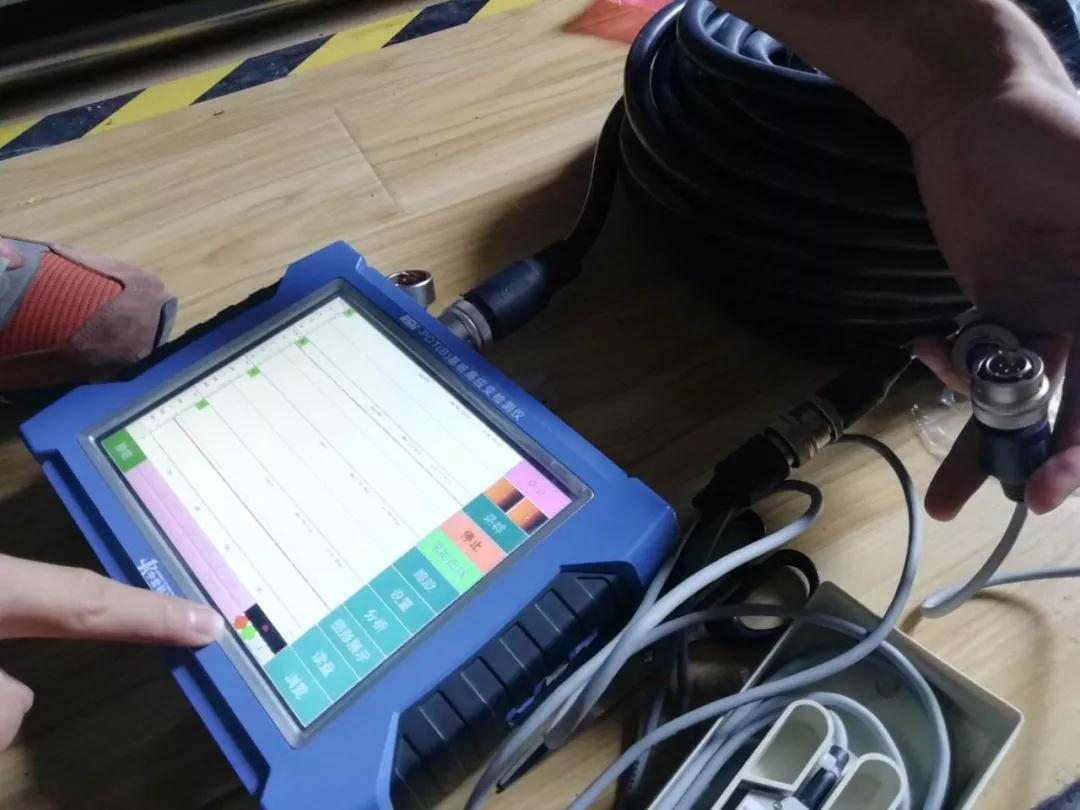
Connect 2 high strain accelerometers to the 4-core interfaces marked “1” and “2” on the high strain four-in-one cable respectively and connect 2 strain sensors to the 6-core interfaces marked “3” and “4” on the high strain four-in-one cable respectively; connect the 19-core interface on the high strain four-in-one cable to one 19-core interface on the dual 19-core high strain cable, and connect the other 19-core interface on the 19-core high strain cable to the 19-core socket of instrument.
Note: The red dot mark on the sensor connection interface shall be connected with that of interface on the cable, and the red dot mark of interface on the cable shall be connected with that on the signal socket of instrument correspondingly.


